Winter Snowflake Cake
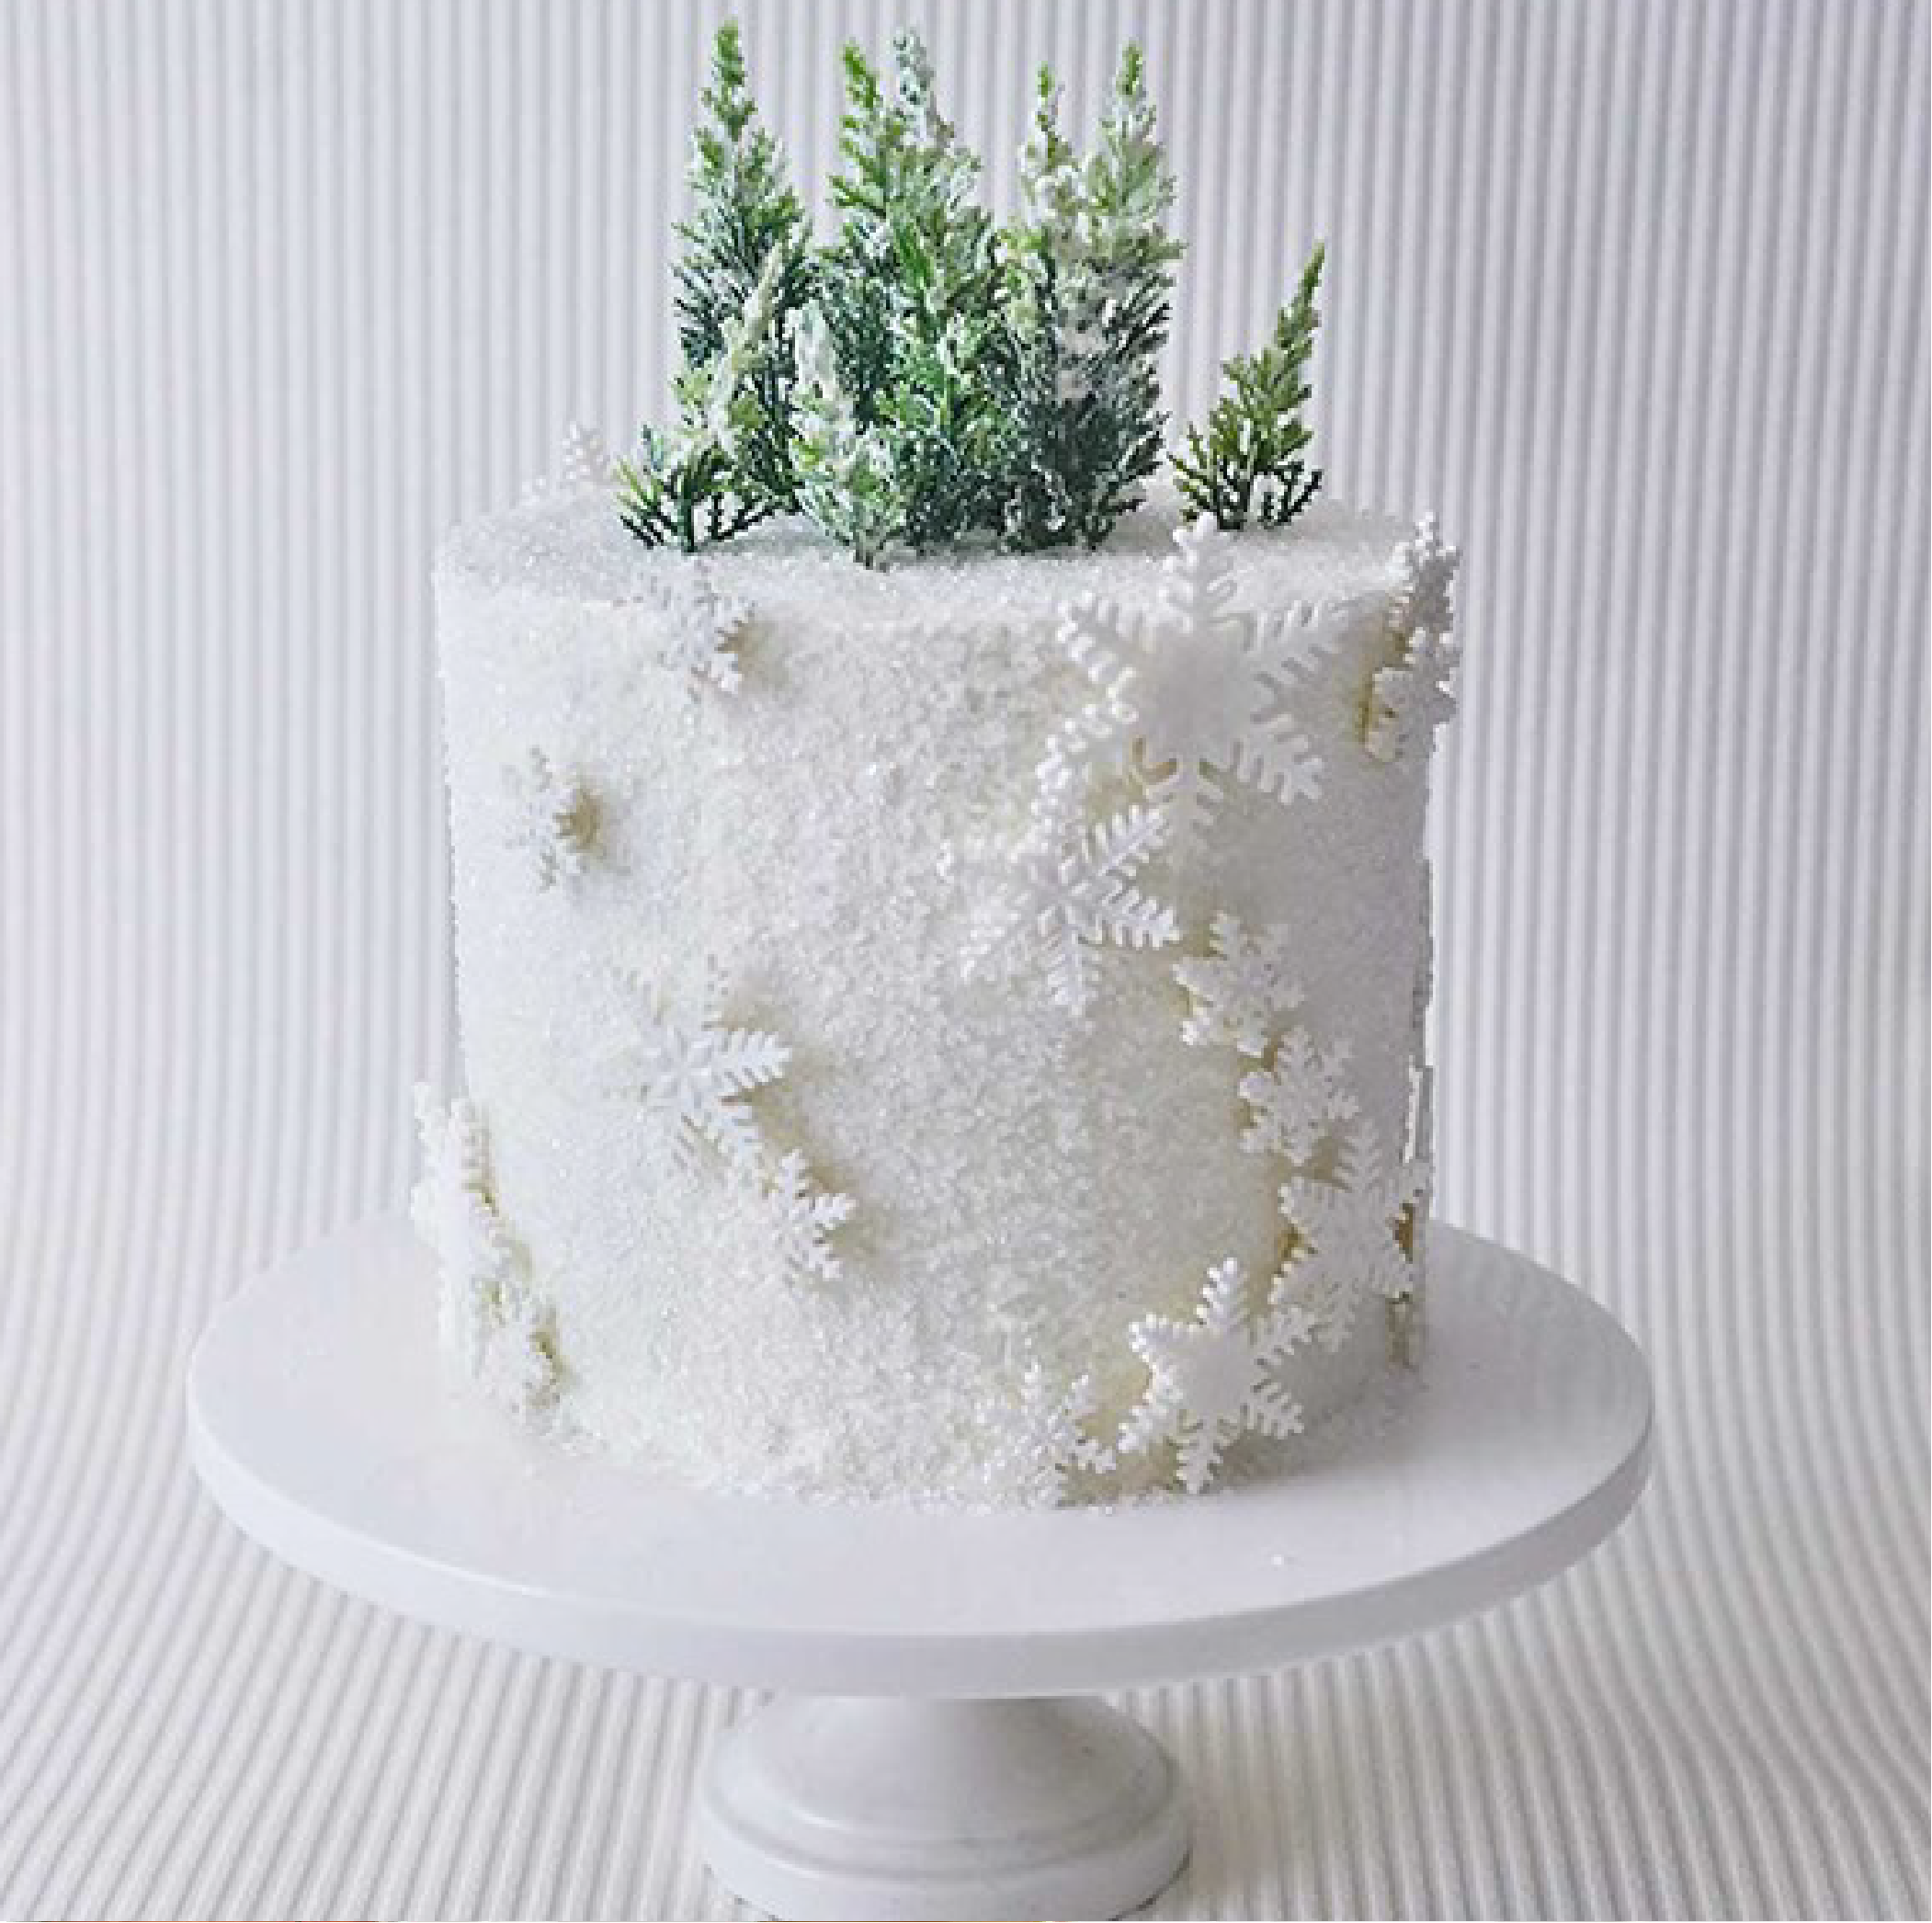
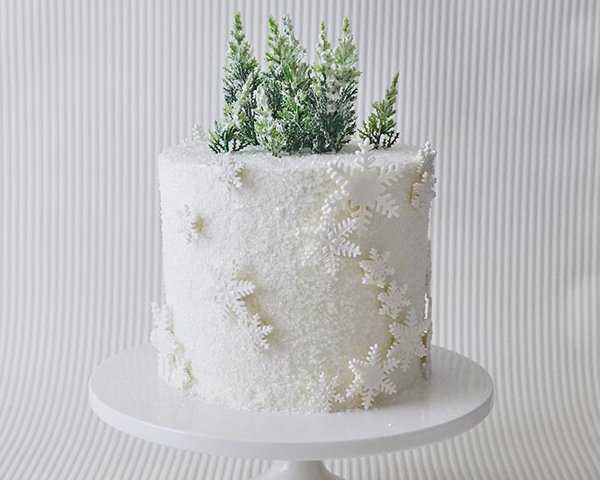
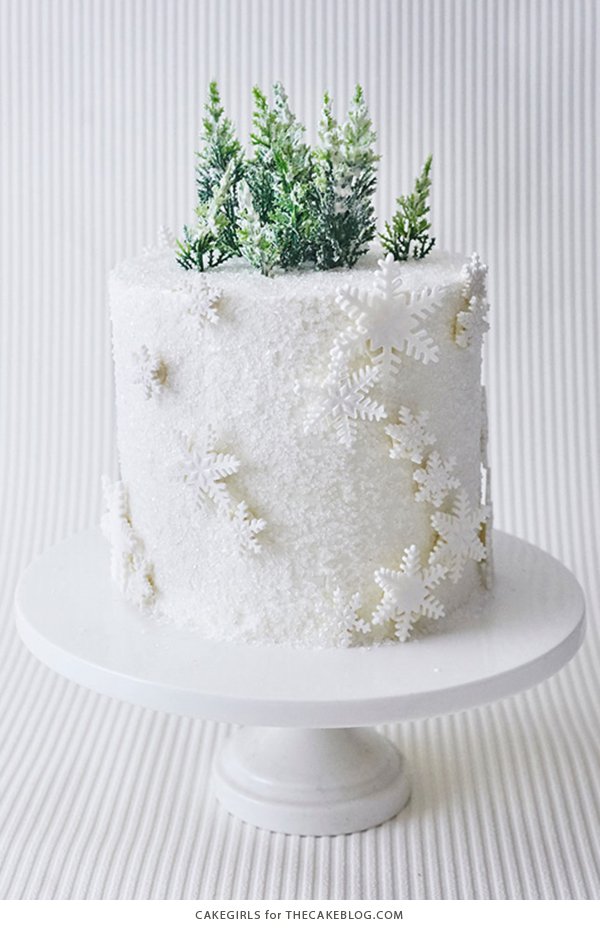
This year we set out to make a classic cake with show stopping qualities that could easily be the centerpiece at your next holiday buffet. We went round and round with ideas and it wasn’t until I took a snowy walk in Chicago that it seems so obvious. The streets and trees looked like the inside of a snow globe. Sparkly and white. Snowflakes falling slowly and frosted trees throughout the park. Eureka. This stunningly simple but elegant Winter Wonderland Cake was born. It starts with a simple snowflake cutter — which is an essential tool in any cake makers tool kit. The rest is as simple as sparkly sugar and little novelty trees.
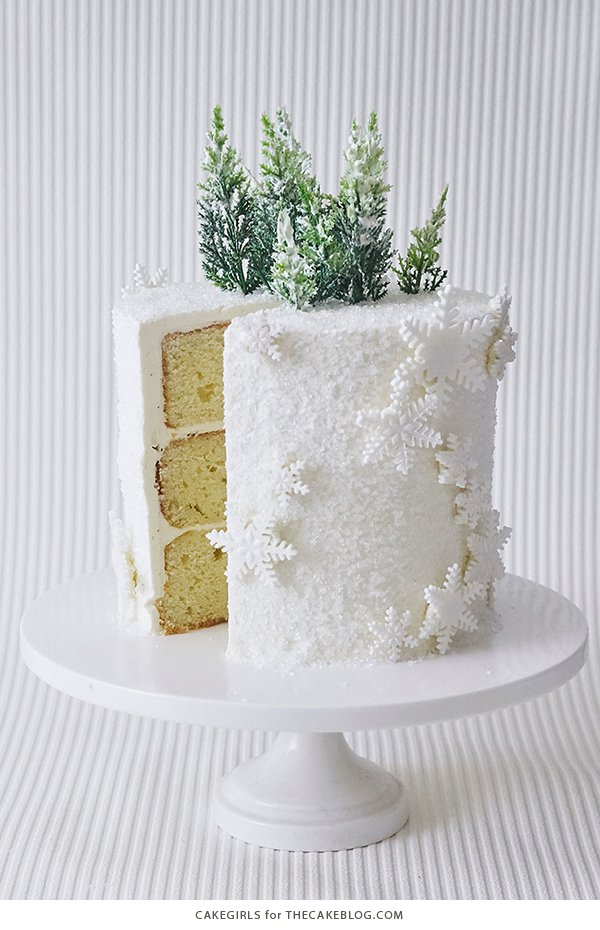
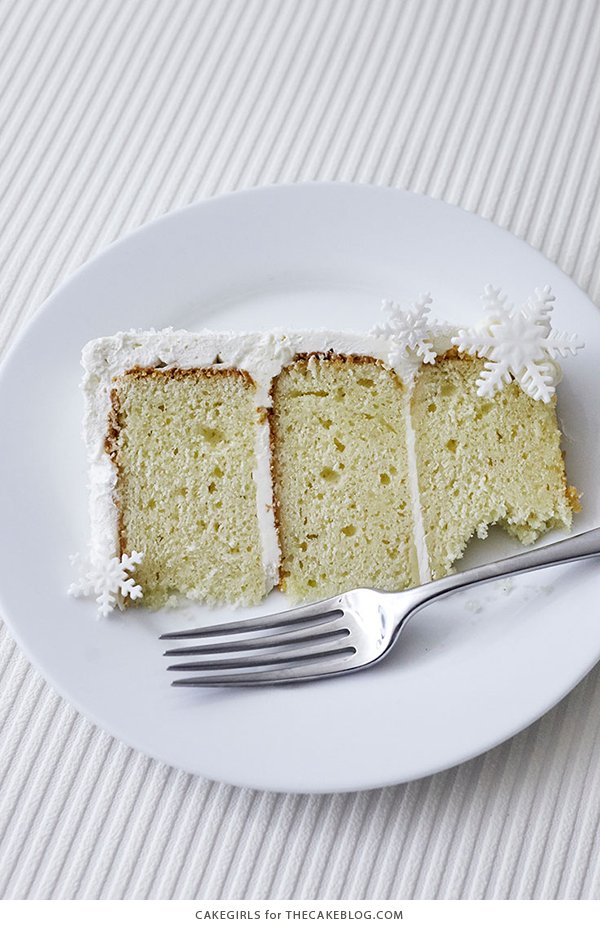
We opted for a vanilla cake with Swiss meringue buttercream to make the inside as wintery white as the outside. But, a splash of eggnog would be a wonderful addition or this Champagne Mimosa Cake would work just as well. No matter which flavor direction you go in, you will need three 6″ round cake layers to make this cake and one batch of buttercream. If you opt for a larger cake, you will need two jars of the white crystal sugar coating.
SUPPLIES
- Snowflake Plunger Cutter
- Novelty Pine Trees
- White Crystal Sugar
- 8 oz. Tub White Fondant
- Super Pearl Shimmer Dust
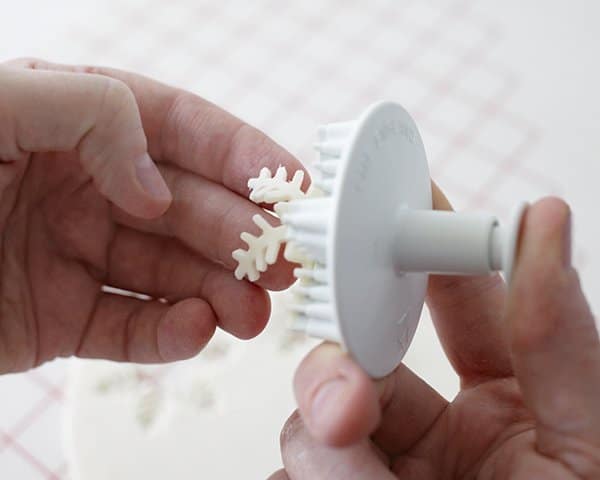
One Day Before: Roll out white fondant very thinly on a surface covered lightly in powdered sugar; no more than ⅛ – ¼ inch in thickness. Use the snowflake punch cutters to cut out various size snowflakes and place them on a parchment lined tray to dry. Make lots in case some break
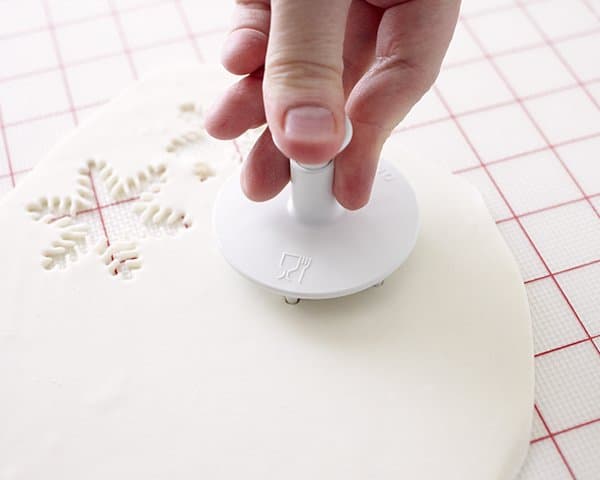
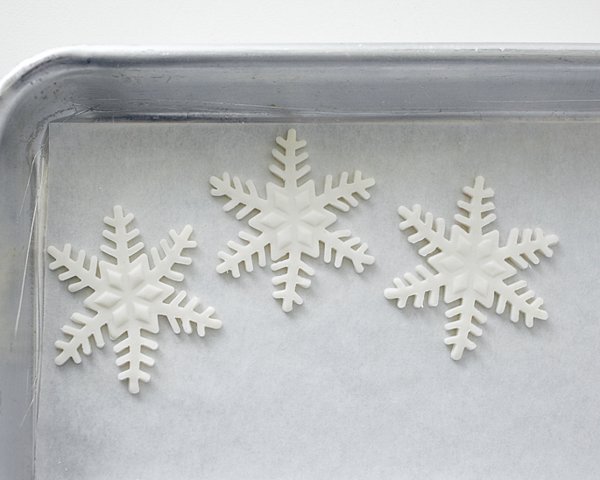
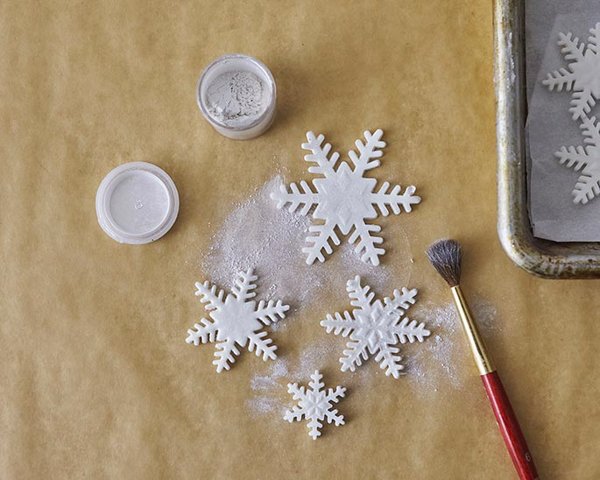
Once you have all your snowflakes punched out, brush them with Super Pearl luster dust to give them a shimmery finish. There is no need to add liquid to the luster dust. Using this dust makes the finished snowflake purely decorative. Just simply remove the snowflakes when serving your guests. If you’d rather keep the snowflakes edible, skip the luster dust or choose a brand which is FDA approved for consumption.
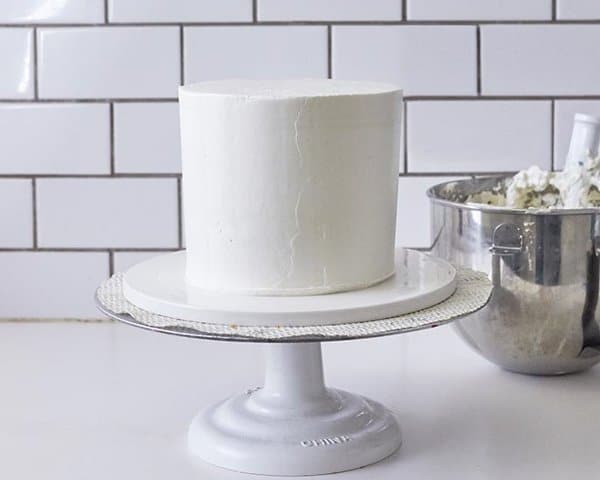
The Day of: Ice your 3 layer 6″ cake in buttercream as smoothly as possible and place in the fridge for an hour so the buttercream is very firm.
Remove the cake from the fridge. Pour white sugar crystals in the palm of your hand and gently run your hand up the side of the cake while pressing the sugar to the side. Make sure that you have a cake pan or tray to catch the falling sugar so that you can reuse it. Use a spoon to sprinkle crystals on the top of the cake. Don’t worry if there are empty patches, they’re a great place to later add a snowflake!
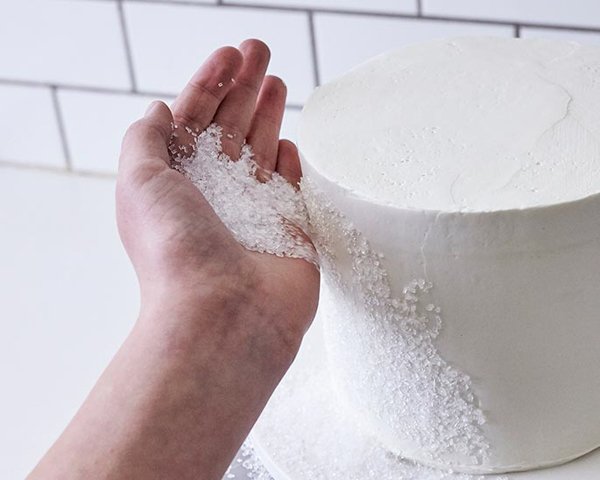
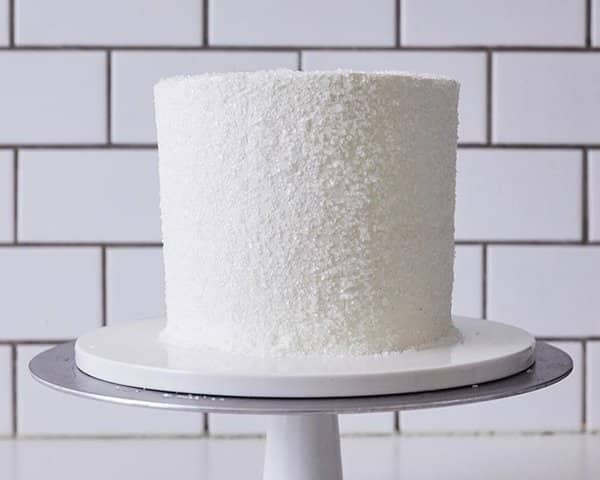
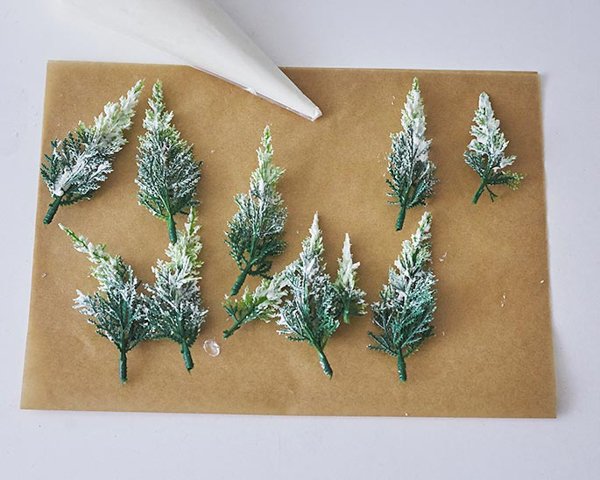
Next, bend your novelty trees to get them to straighten a bit and trim a few trees smaller. Smear buttercream lightly on the trees to make them look snowy and place on top of the cake in a little forest cluster.
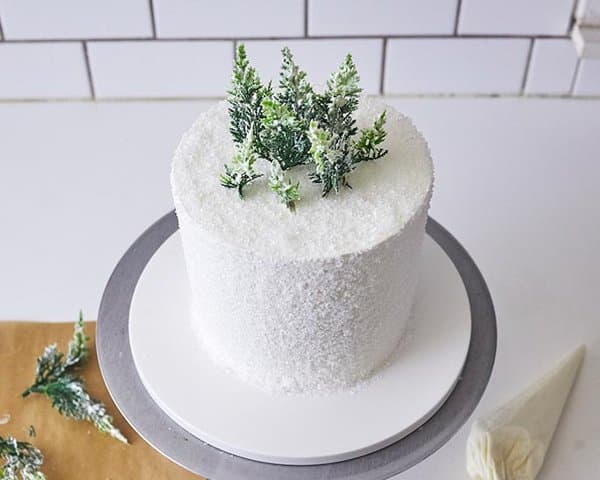
Pipe dots of buttercream where you want to place the snowflakes and then place various size snowflakes on the sides of the cake.
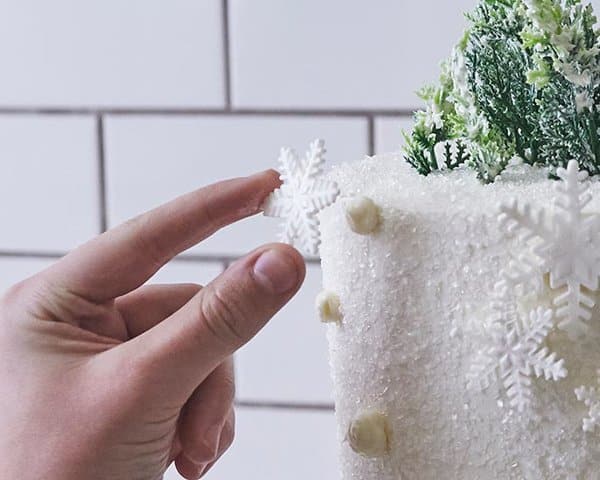
Voila! Your cake is done! Now you have a lovely Winter Wonderland dessert.


 Sparkle Dust


