Gold Dipped Cake

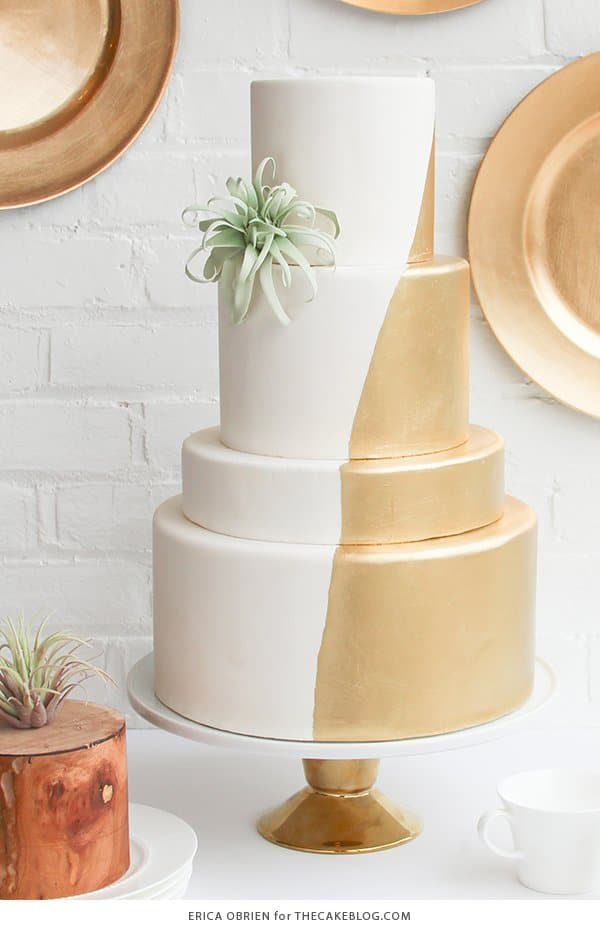
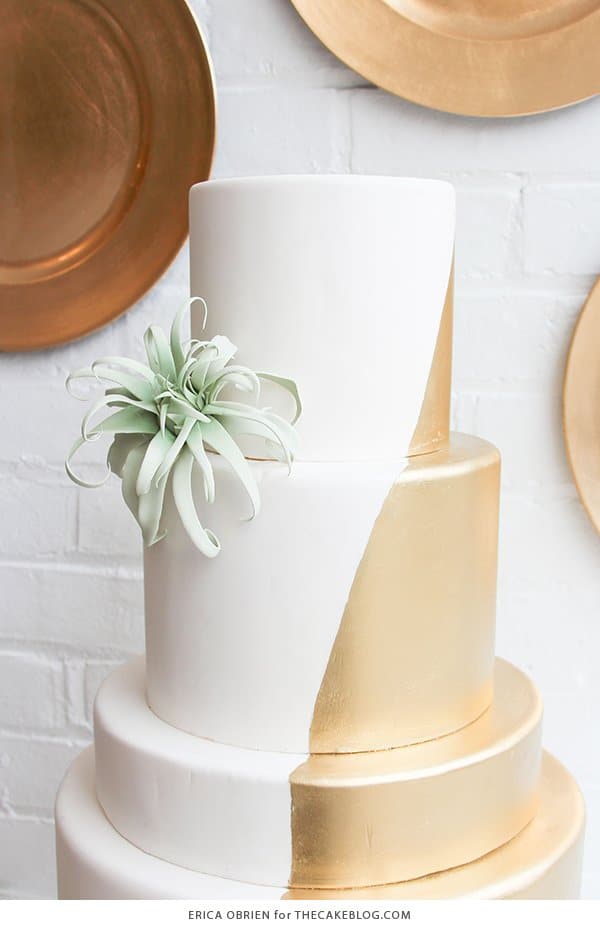
For this cake, I wanted to create something chic and trendy. There are certainly many beautiful gold cakes out there already, but I wanted this cake to appear as if it was actually dipped in gold. For inspiration, I turned to Pinterest, where I not only found beautiful images of items dipped in gold–everything from vases to feathers–but DIYs as well. The method used in the DIYs were very similar to the technique we used for our cake.

We started by covering our tiers with fondant and allowing them to set up overnight. To create the gold-dipped look, we first made a template out of parchment that would be used to cover up the cake where we wanted it to remain white. To secure the parchment to the cake, we spread an even layer of Crisco on it and placed it on the cake, smoothing it to the cake’s surface create a seal. (We used this unconventional method so that we could create a really smooth line between the gold and white. We initially discussed taping the parchment on, but didn’t want the very jagged edge or very straight edge that the tape would give us.) We then applied several layers of gold with an airbrush. Removing the parchment was a bit scary—we weren’t sure how effective the method would be—but it worked perfectly. There was no overspray (onto the white part) and the cake did not even require any cleanup.

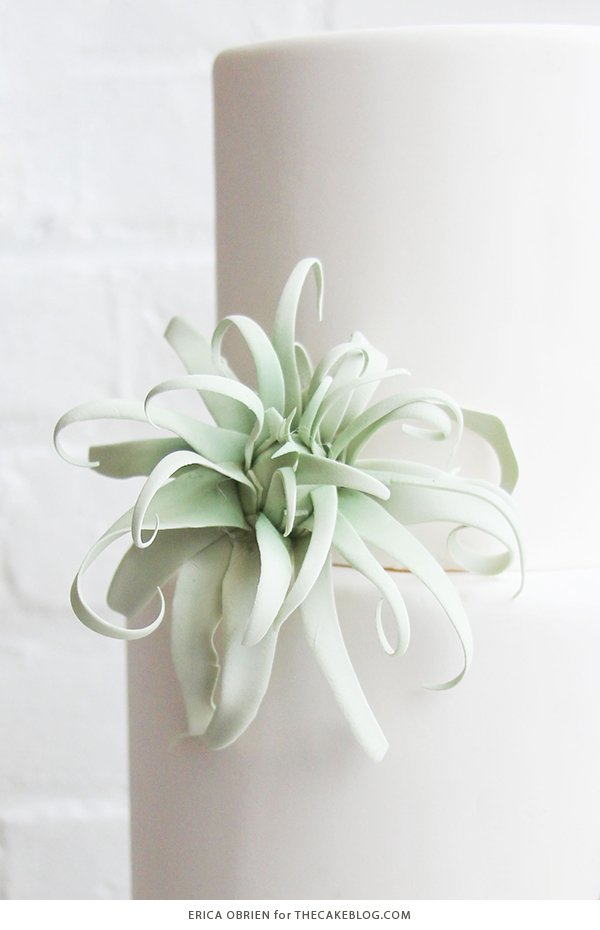
To add an extra element of chic and modern, we created an airplant out of gumpaste. This proved to be a bit of a challenge and took several attempts, but finally we hit on a method that worked perfectly.

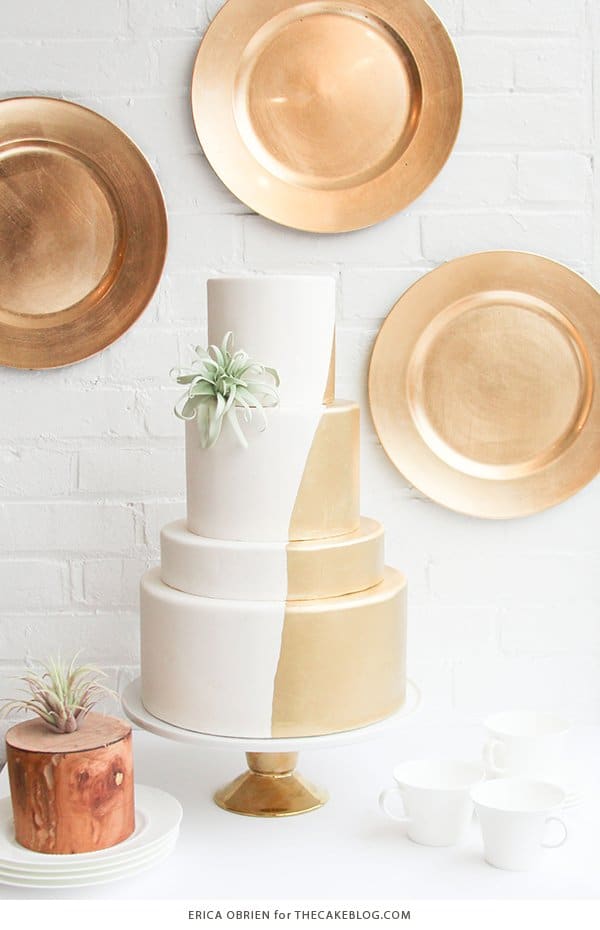
For the photograph, I wanted the styling to work with the clean and minimalist look of the cake. I chose white dinnerware, a white backdrop, and gold chargers that I affixed to the wall.


 Sparkle Dust


