Cake Gems
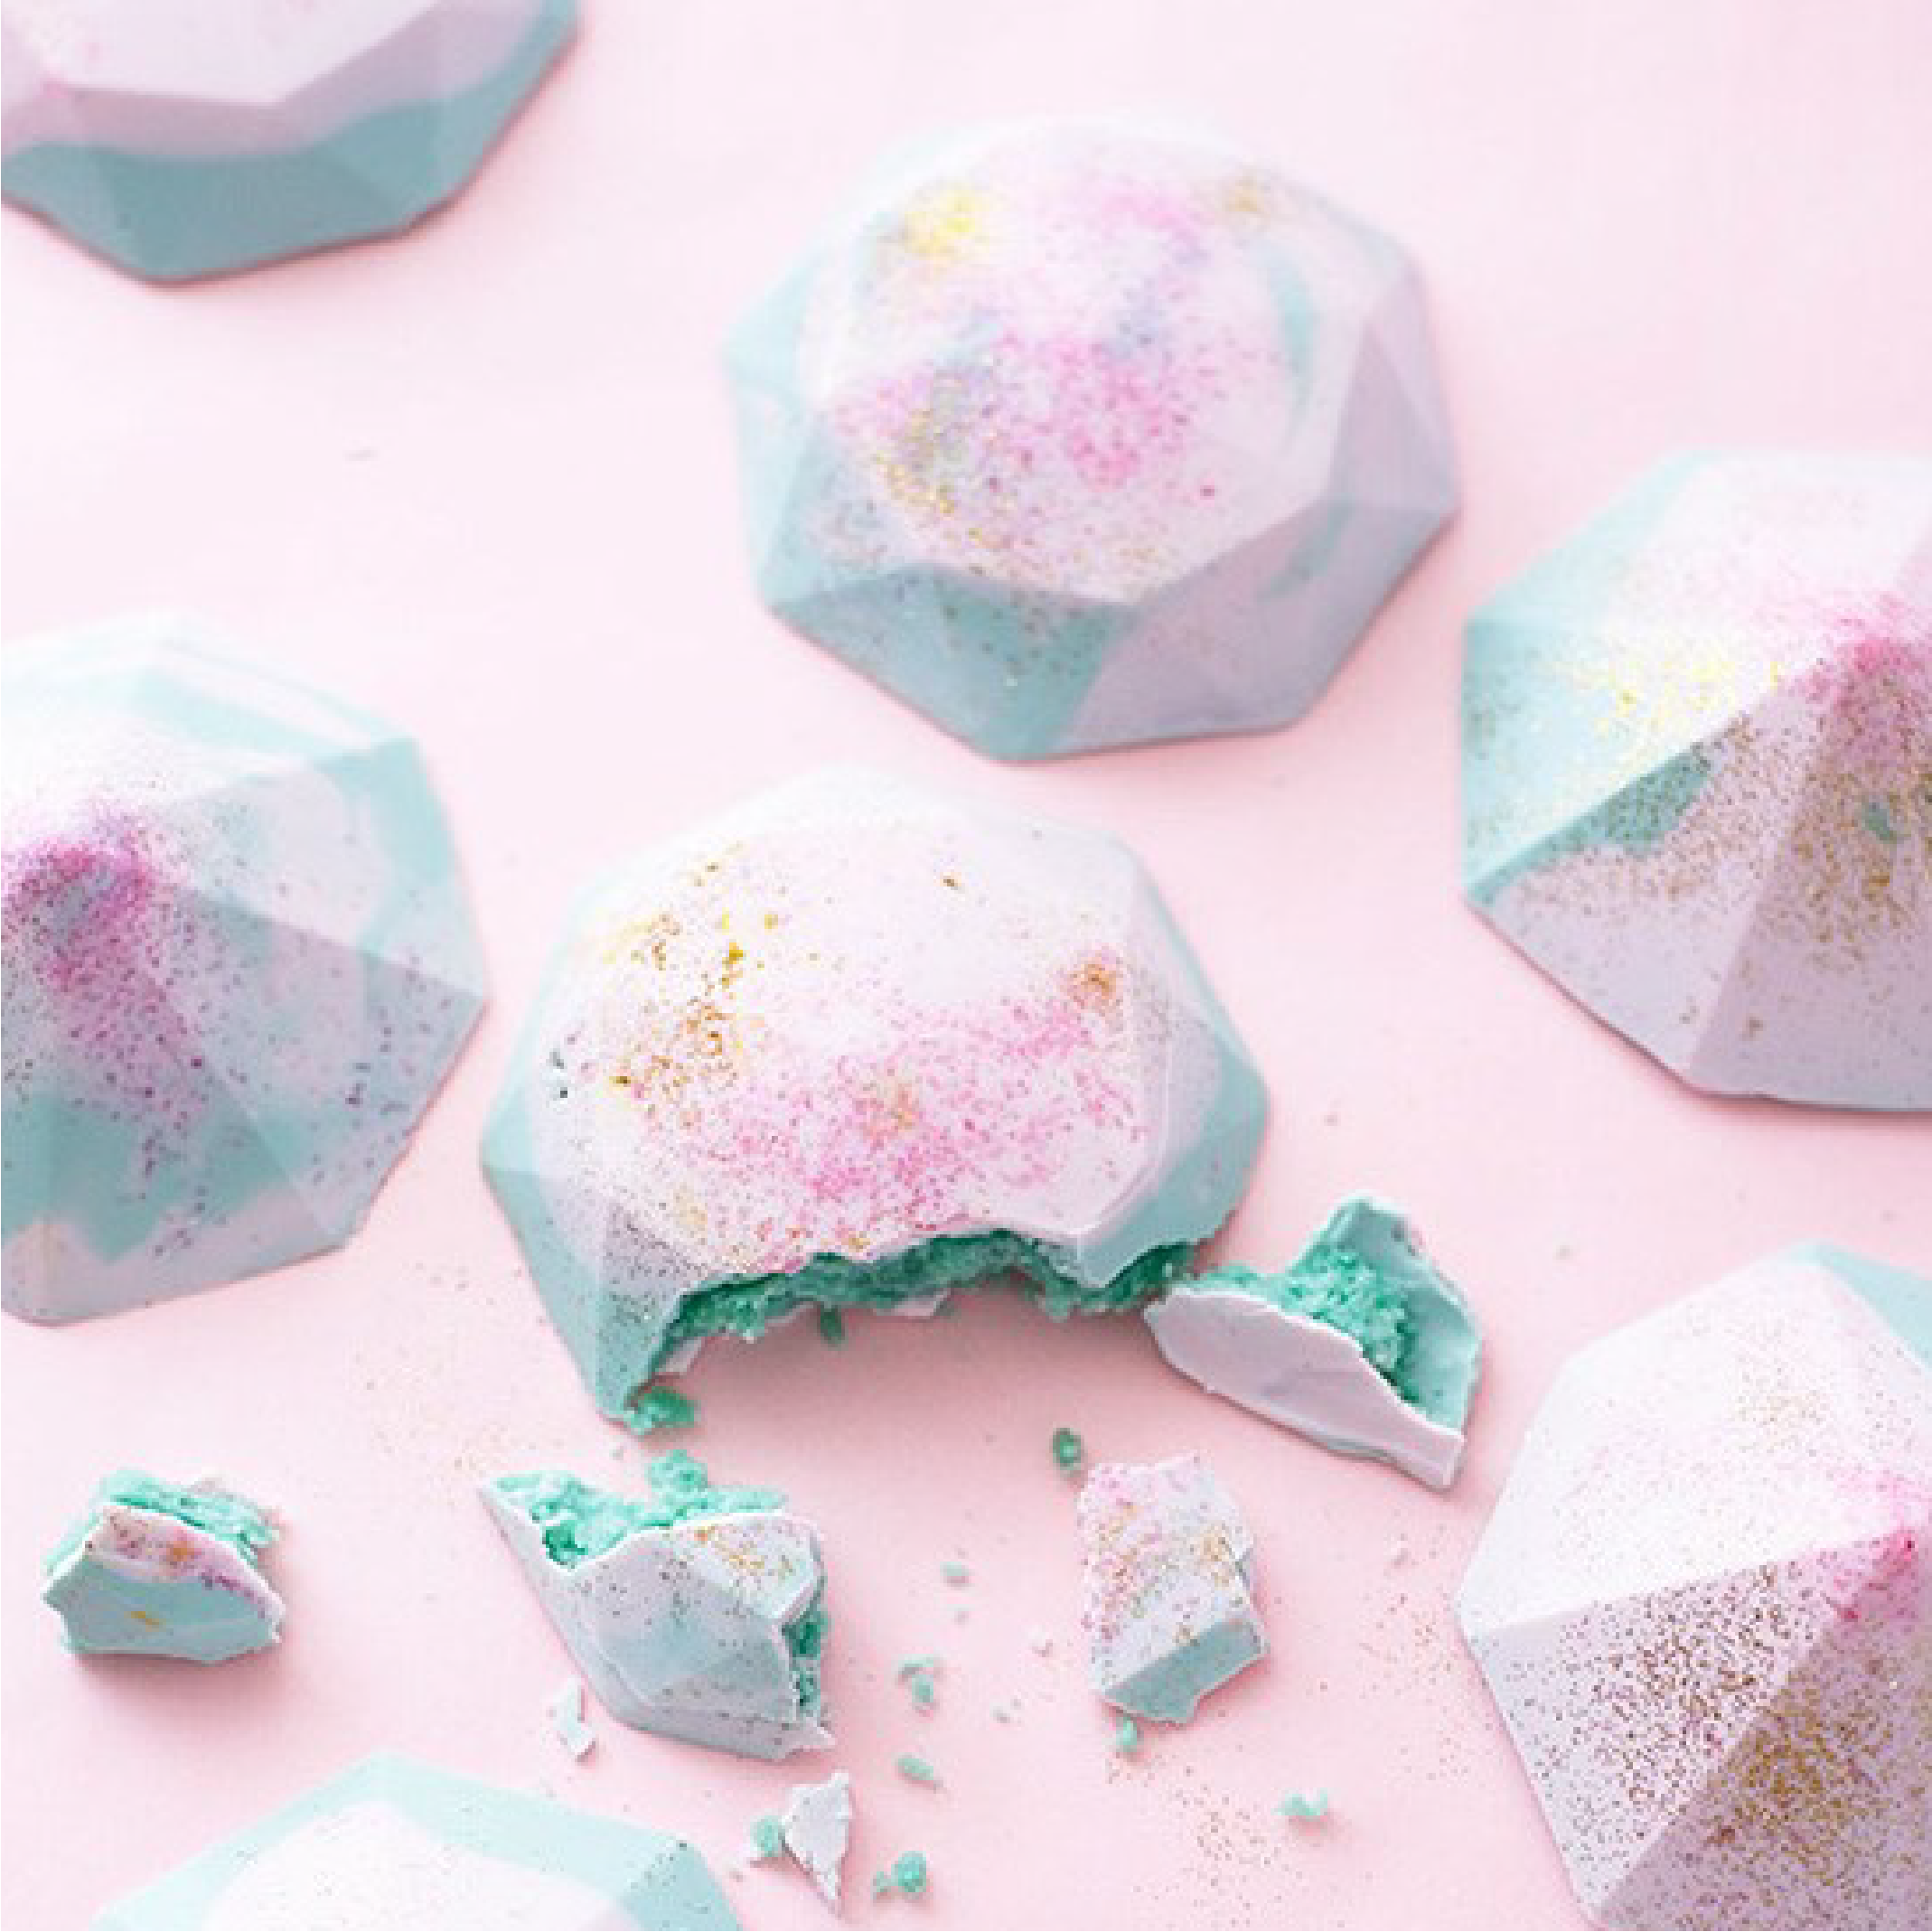
When you’ve been making cakes for a long time, you work hard to hone your skills and really discover your aesthetic as a cake maker. Sometimes you feel like you’ve “found your voice” and other times you feel like you’re in a bit of a rut. That’s why it’s so exciting to see new and inspiring cake trends appear, opening your eyes to how others approach design and their refreshing take on treats you might never have thought of.
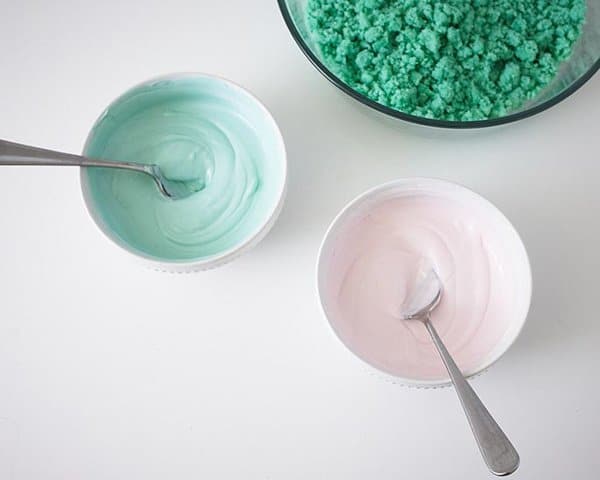
Separate your white candy coating into two microwave safe bowls. Add a few pink candy coating discs to one bowl and bright blue to the other bowl (we also added a few green discs because we were shooting for a light aqua color) Heat the bowls on half power, stirring every 30 second or so until melted. Now, continue to stir in colored discs until you get the color you like. If the coating starts to become less fluid, reheat and restir a bit.
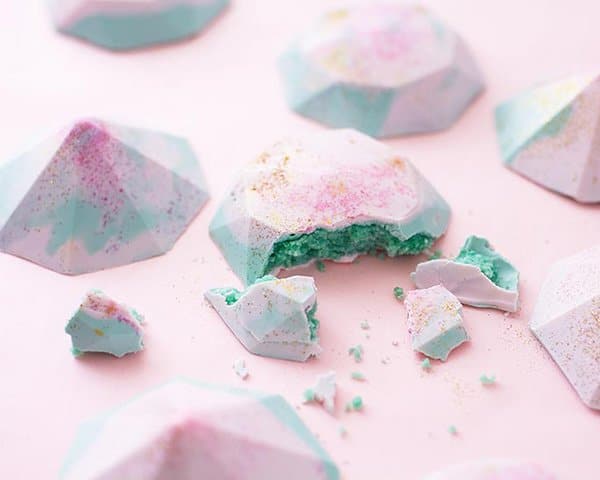
SUPPLIES:
- Bright Aqua
- Blue Cake Pop Filling
- 3-D Diamond Chocolate Mold
- White Candy Coating
- Light Pink Candy Coating
- Bright Blue Candy Coating
- Light Green Candy Coating (Optional)
- Hot Pink Sugar Crystals
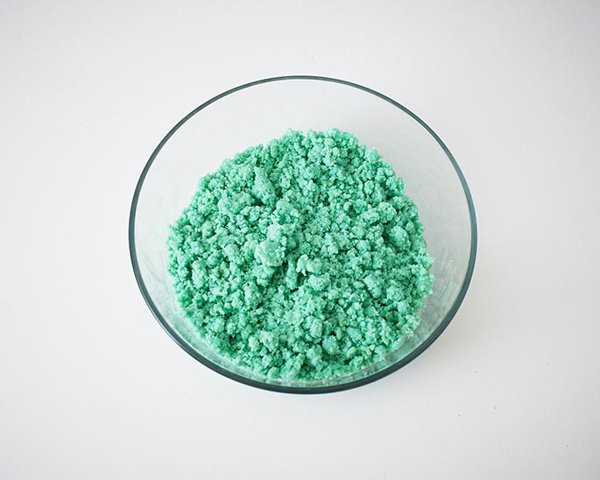
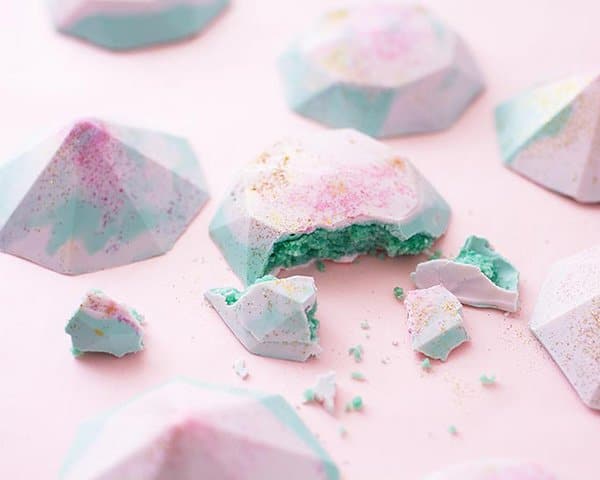
To make bright blue aqua cake pop filling, tint a yellow cake box mix batter with blue food coloring before you bake it in the oven. Once baked and cooled, crumble the cake until no large lumps appear and then thoroughly mix in just enough store bought icing (a few scoopfuls) until the filling holds together when squeezed in your hand. When you’re done, place the mixture in the fridge while you complete the next steps.
Separate your white candy coating into two microwave safe bowls. Add a few pink candy coating discs to one bowl and bright blue to the other bowl (we also added a few green discs because we were shooting for a light aqua color) Heat the bowls on half power, stirring every 30 second or so until melted. Now, continue to stir in colored discs until you get the color you like. If the coating starts to become less fluid, reheat and restir a bit.
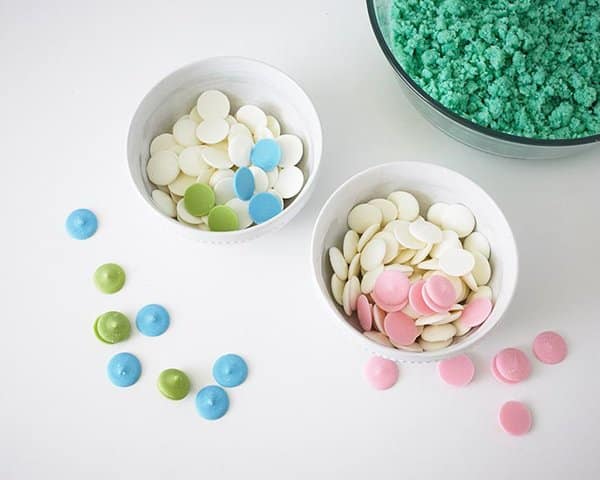
As a rough guide, we used twice as much white candy coating as we did colored.
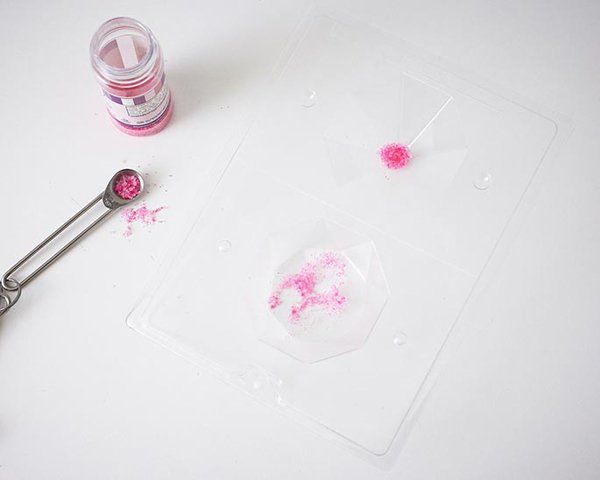
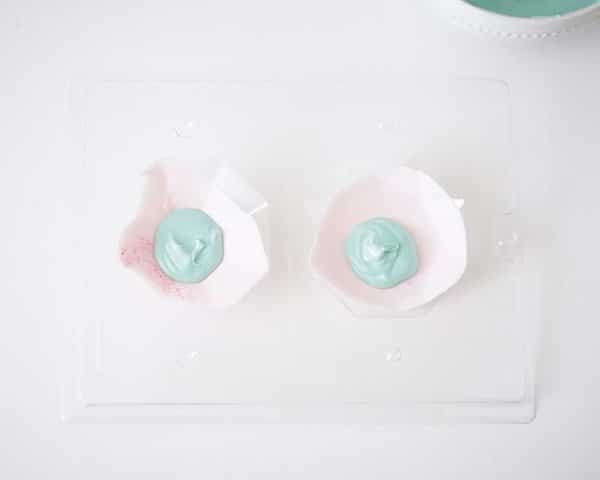
Place a 1/4 teaspoon of hot pink sanding sugar into each cavity of your chocolate mold.
Spoon in a tablespoon or so of light pink melted coating. Take a toothpick and stir the coating and sugar a bit so that the sugar is distributed and not settled in one spot. Then, tilt the mold to swirl the coating around in an asymmetrical pattern. Wipe away any coating the goes beyond the edge of the mold.
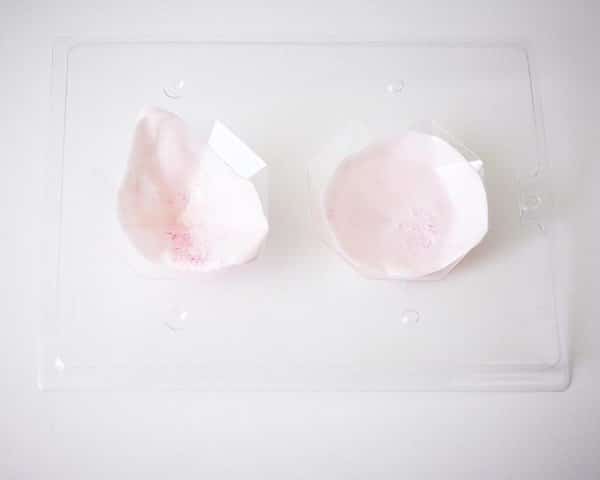
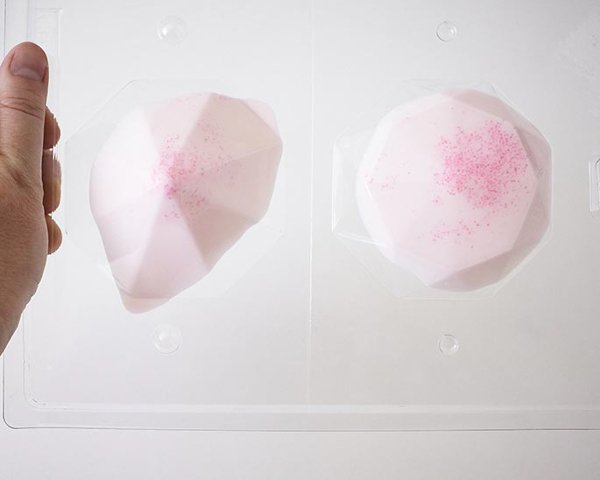
You can flip the mold over and take a look to see if the sugar looks well distrubuted. When you’re ready, place the mold in the fridge for 5 minutes to harden.
Remove the mold from the fridge and repeat this process using the aqua melted coating instead. However, with this layer, use the back of a small spoon to make sure the coating is spread over the entire mold. Once again, place the mold in the fridge for 5 minutes, until firm.
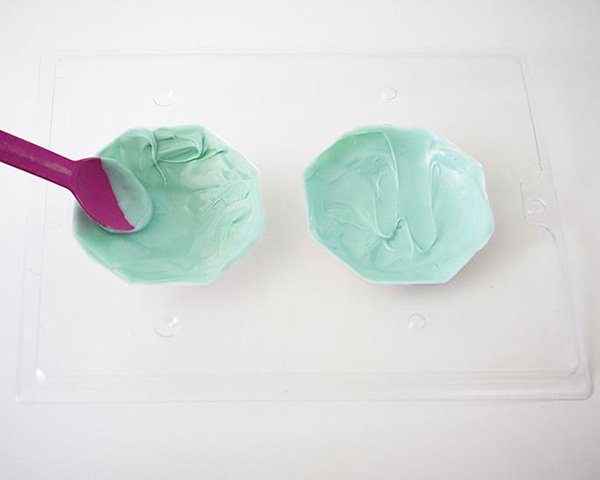
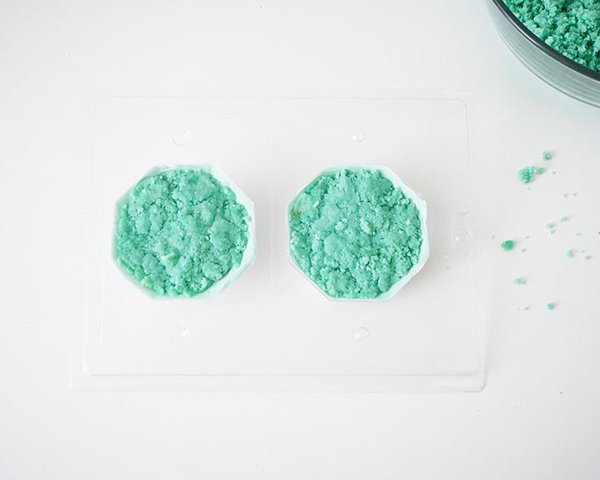
Remove the mold from the fridge and press cake filling inside, being sure not to overfill the mold so that you have room to seal it.
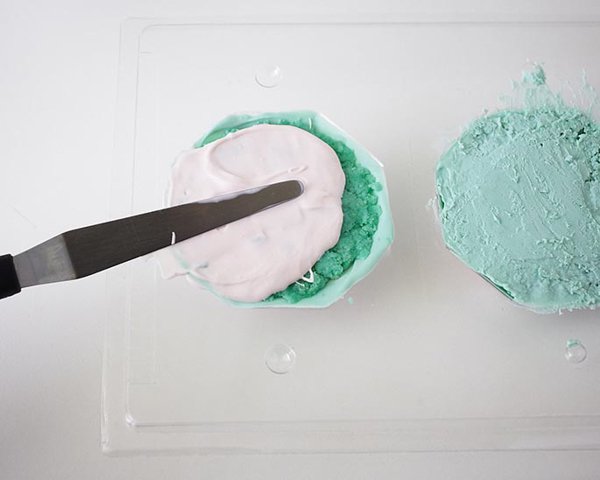
Spoon more melted coating on top and use a spatula to spread it and seal the back. It might look a little bumpy, but that’s okay.
This time place the mold in the freezer for 15 minutes or so, until very firm. Then flip the gems out of the mold.
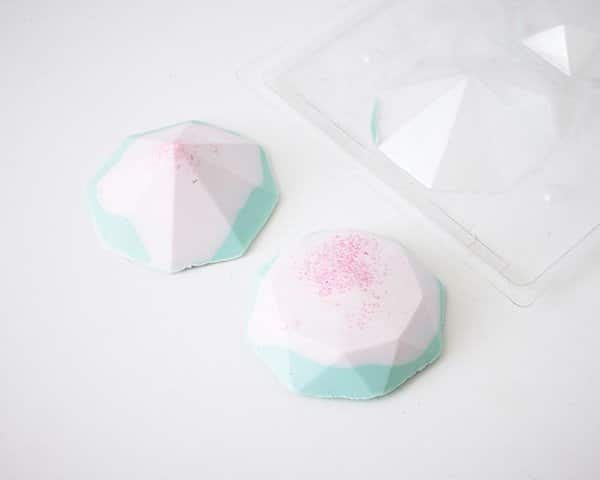
Repeat the process until you’ve used up all your ingredients. You can vary the design of the gems by swirling the two colors together in the mold at the same time instead of layering them or simply stick to a solid color for the entire gem. If you find that your cakes have rough edges after removing from the mold, use a paring knife or x-acto knife to trim them.
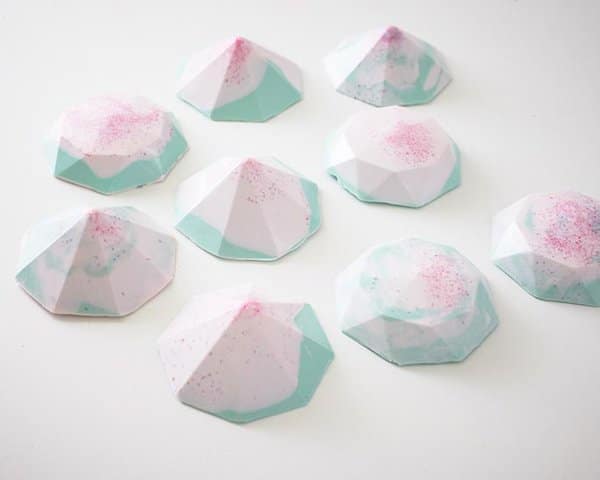
Now your ridiculously pretty gems cakes are ready to be served. These can be made a few days ahead and refrigerated until party time. Enjoy!


 Sparkle Dust


